Congratulations you just turned 18 years old, you’re an adult now! The problem? You’re an adult now. So that means you need to learn how to “adult.”
Unfortunately, there are no guidebooks, but fear not, with this comprehensive “first-steps guide” I will guide you through some very important milestones in your journey into adulthood.
There are two big things that are a must-have for any adult: a State ID and a Drivers License. From opening a bank account to buying a car, you will need these essential identifications throughout your adult life.
At first glance, it may seem daunting, and trust me, I felt that way too, especially for a newly minted adult who hasn’t got their footing yet. But after it is all said and done it is relatively straightforward. The process for a State ID and driver’s license is relatively the same: gather documentation, set appointments, of course, and patiently wait for your time at the Department of Public Safety. But for now, let’s talk about how we get a state ID.
To start, there are seven steps to the process of getting a state ID. I know it sounds like a lot but you’ll soon see it’s not that scary.
First: Complete the identification card application before arriving at the DPS (Department of Public Safety) office, this form is also available at the DPS offices, but I would fill it out before arriving (will be provided later).
Second: Make an appointment! You can schedule an appointment at www.txdpsscheduler.com or you can look up
“Texas ID card appointment” and click the first or second link and follow the relevant instructions (I know it says Drivers License Service – Appointments. It is fine to click the scheduler anyway)
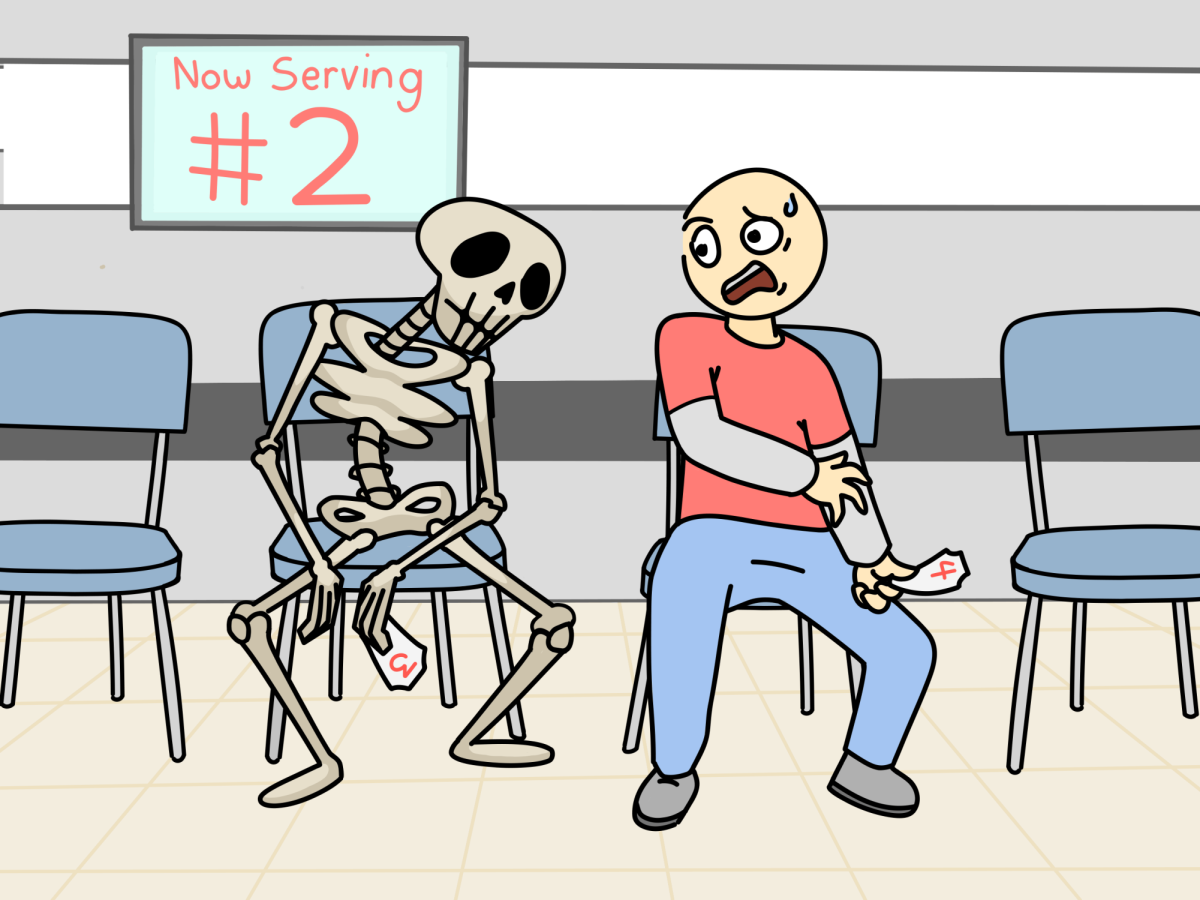
Third (At the Scheduled Appointment): Provide your documentation (After your number has been called) to the license and permit specialist! Of course, I will provide some documents and other information needed at the end of the steps, stay tuned!
Fourth: You must provide your signature, so brush up on your cursive! They also accept print, but it’s just not as cool.
Fifth: In tandem with number four you will need to provide your thumbprints. Thankfully they don’t use ink anymore. +1 for technology.
Sixth: They are going to need a picture of you on your ID, don’t worry they will take your photo there so you don’t need to give them one. So make sure you do your hair, makeup, and clothes before you go to the appointment.
Seventh: You have to pay the fee. Yes, I know what you are thinking ‘After so long and so many hoops you have to jump, they expect you to pay?’ But fear not, it’s relatively inexpensive ranging from $16 to $21 for state ID, and for a Driver’s license it can be $16 to $33, unless you plan to ride a motorcycle things may differ. Keep in mind there is also a $1 administration included in all following fees. For more information go to: www.dps.texas.gov/section/driver-li- cense/driver-license-fees
Congratulations! If you finish all the steps you will be issued a temporary ID. The real one will come in the mail in 2-6 weeks (I know right!? So long!).
“Woah there!” I hear you say. “What about the documents that you promised I would need?” Worry not my fellow adult (Or soon- to-be adult, I don’t know who you are?) as promised I will now reveal to you the secrets of DPS documentation (and viewer retention!).
Of course, the first thing I would recommend you get is the “Identification card application” that we mentioned earlier, (Refer to step 1) Like I said you can get one at your local DPS but if you go to akinseagleseye. com and find the online version of this story I have linked all relevant links. Something to note if you fill out the Identification card electronically (PDF file) you will need to print it out before you get to your appoint- ment. You can get this done by searching for “Print near me.” Two places where you can get the print done are FedEx Print and Ship Centers or Office Depot locations. Also, make sure you have something to transfer the file like a USB or download it to your Google Drive. (Do Not Use Your School Drive!).
The next thing you need to do is prove your U.S. citizenship so you will need your birth certificate & Social Security Number. In the event you are not a U.S. citizen then you must prove your lawful presence in the country.
After that, you are going to need to prove your identity. Again birth certificate and Social Security Number, but if that is not enough you can bring your school ID, and your report card. Remember, it is always better to over-prepare than to under-prepare because if you don’t have documents at the ready then you can potentially waste months of time.
And finally, the one I had the most hard time with, the document that proves your Texas residency. Now at the time, I did not know how to prove that so by the time I got to the DPS and went through the process of documentation, the lady gave me a form that stated that my parent vouched for me that I lived with her. Now what that did was allow her to use a previously paid bill (up to or over 30 days long since it was paid. I can’t remember the specifics) as proof of Texas residency. Of course, if you pay bills in your household then you should have no problem using that.
Now that you have all the documentation and know all the steps you, dear viewer, are ready to apply for your own State ID. These are your first steps into adulthood. Congratulations!


